Motivation
A sometime ago I started to learn Elixir, but I wanted a kind of real experience with something more, I bought a humble bundle focused on Elixir programming language, and there I found the book Build a Weather Station with Elixir and Nerves by Alexander Koutmos, Bruce A. Tate, Frank Hunleth. I started to read, I found it interesting and I decided to buy the hardware.
Hardware
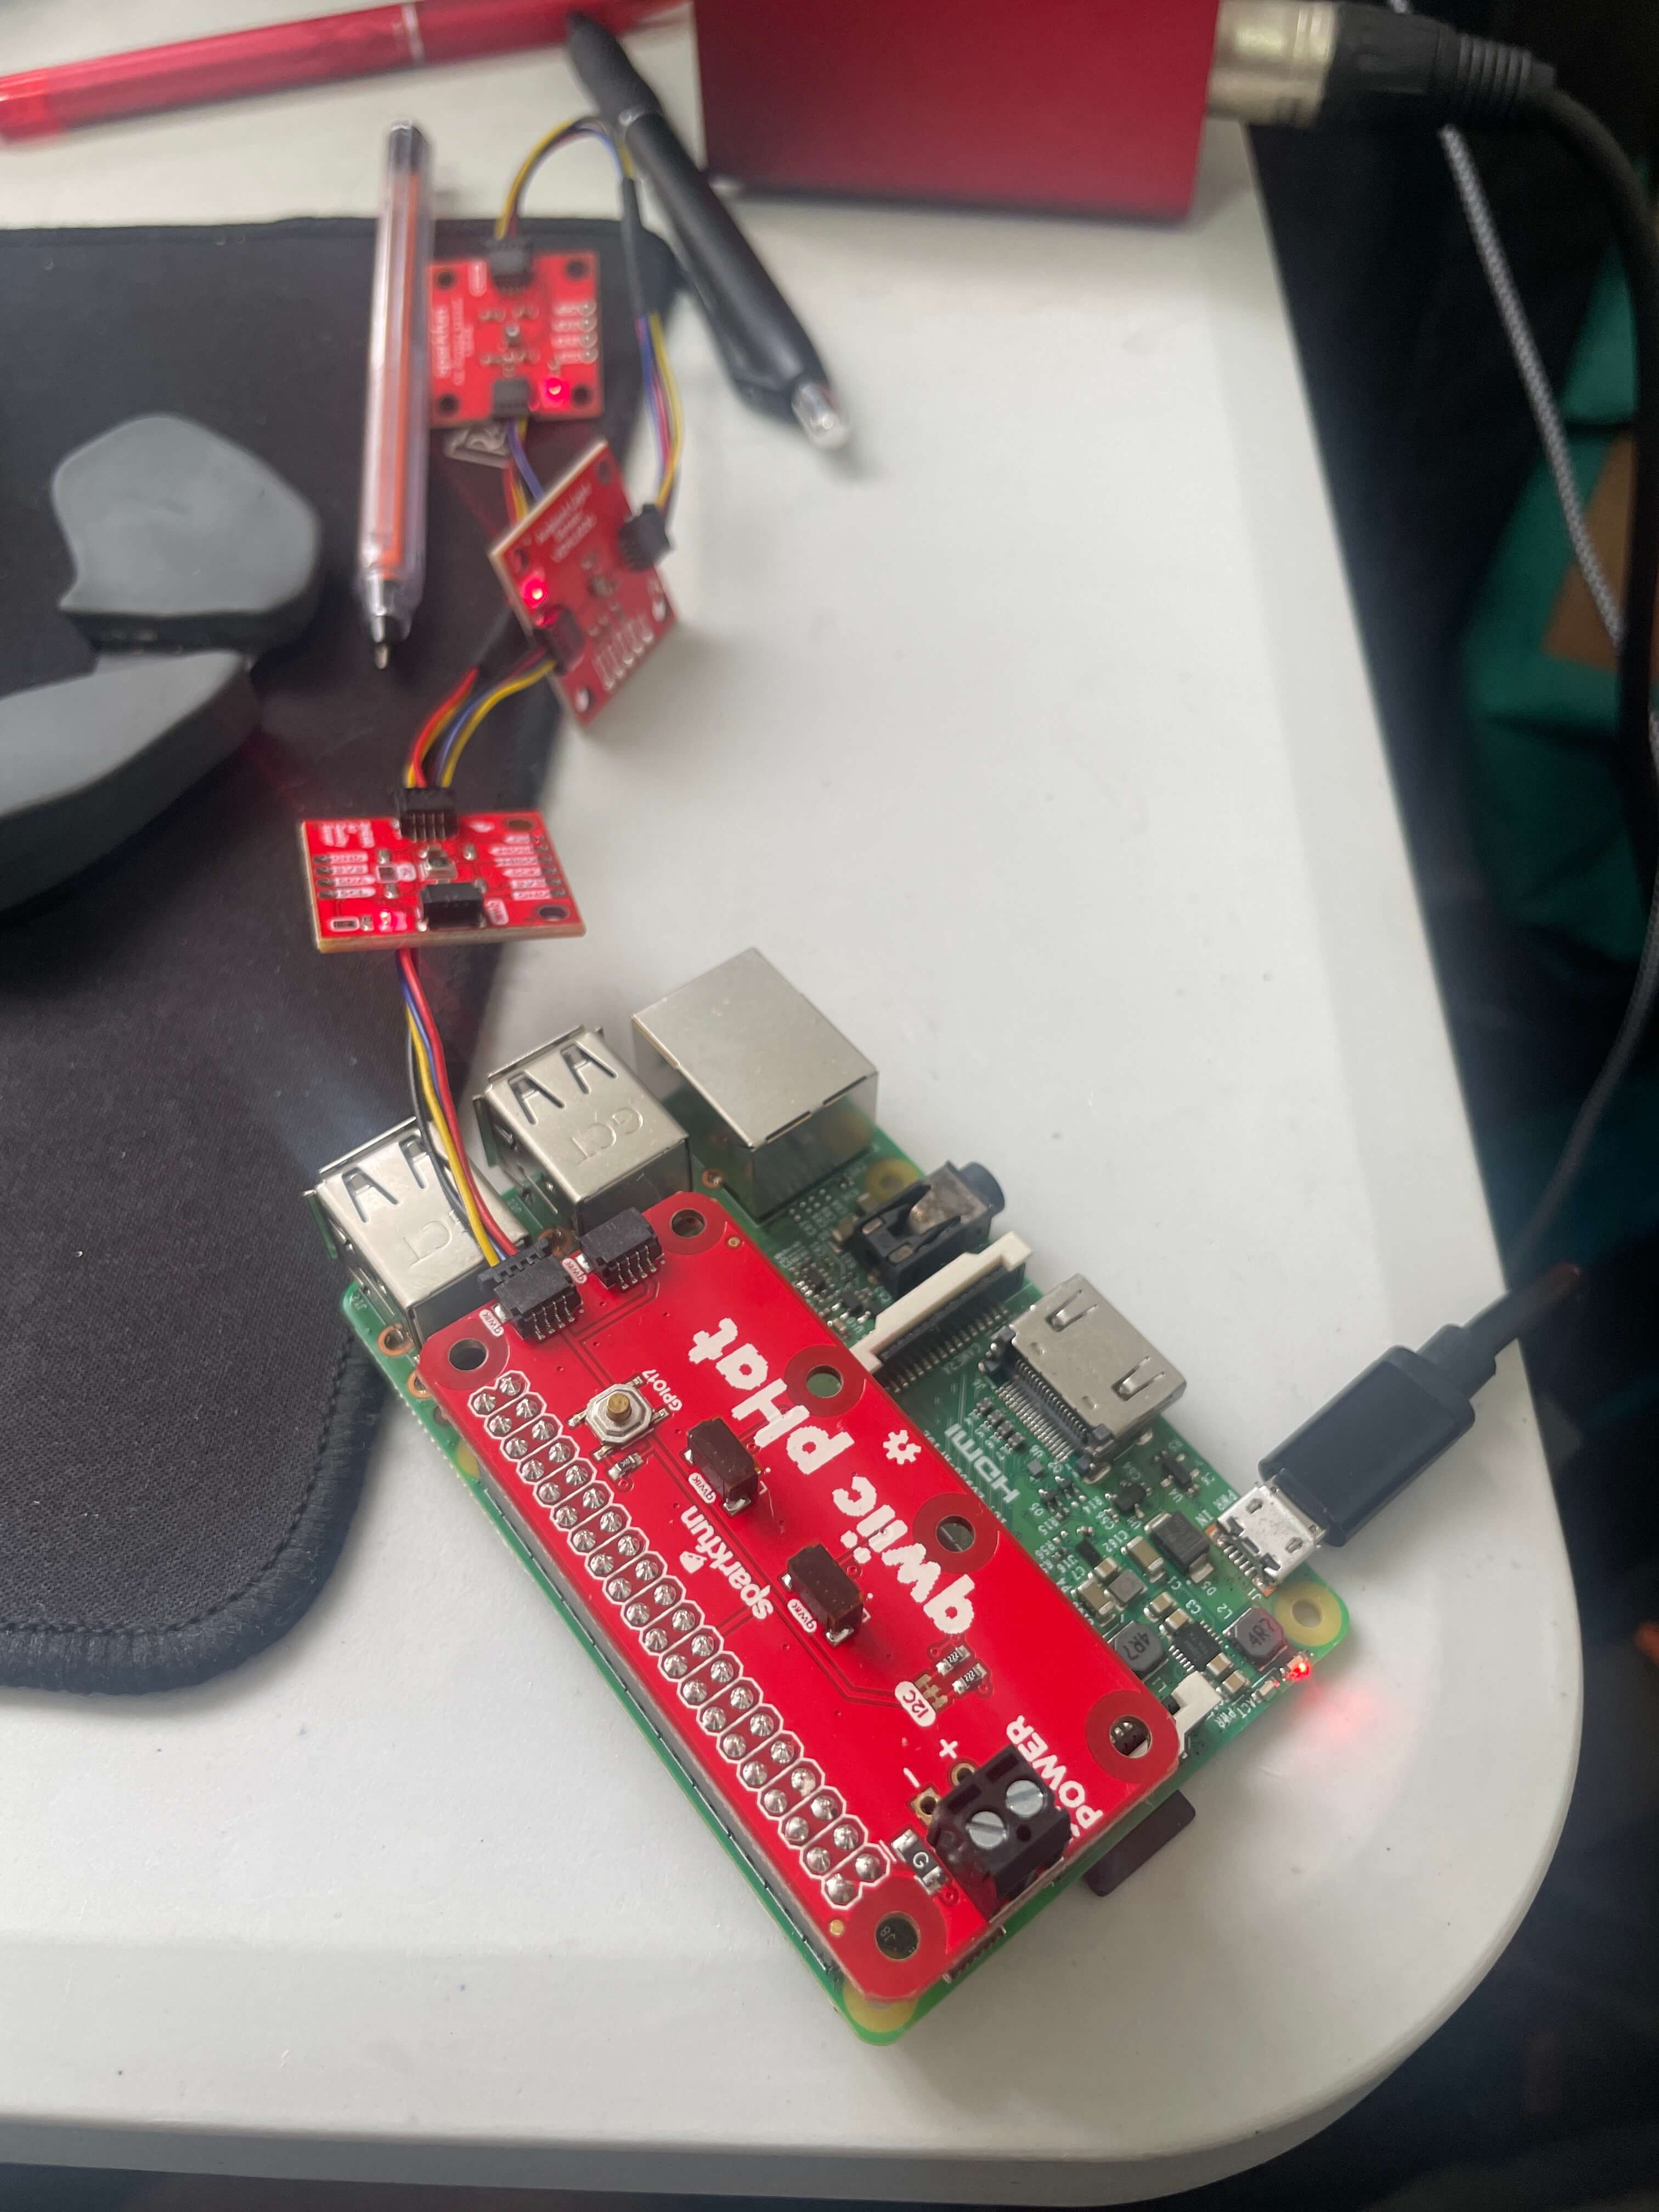
The hardware that I bought is the following:
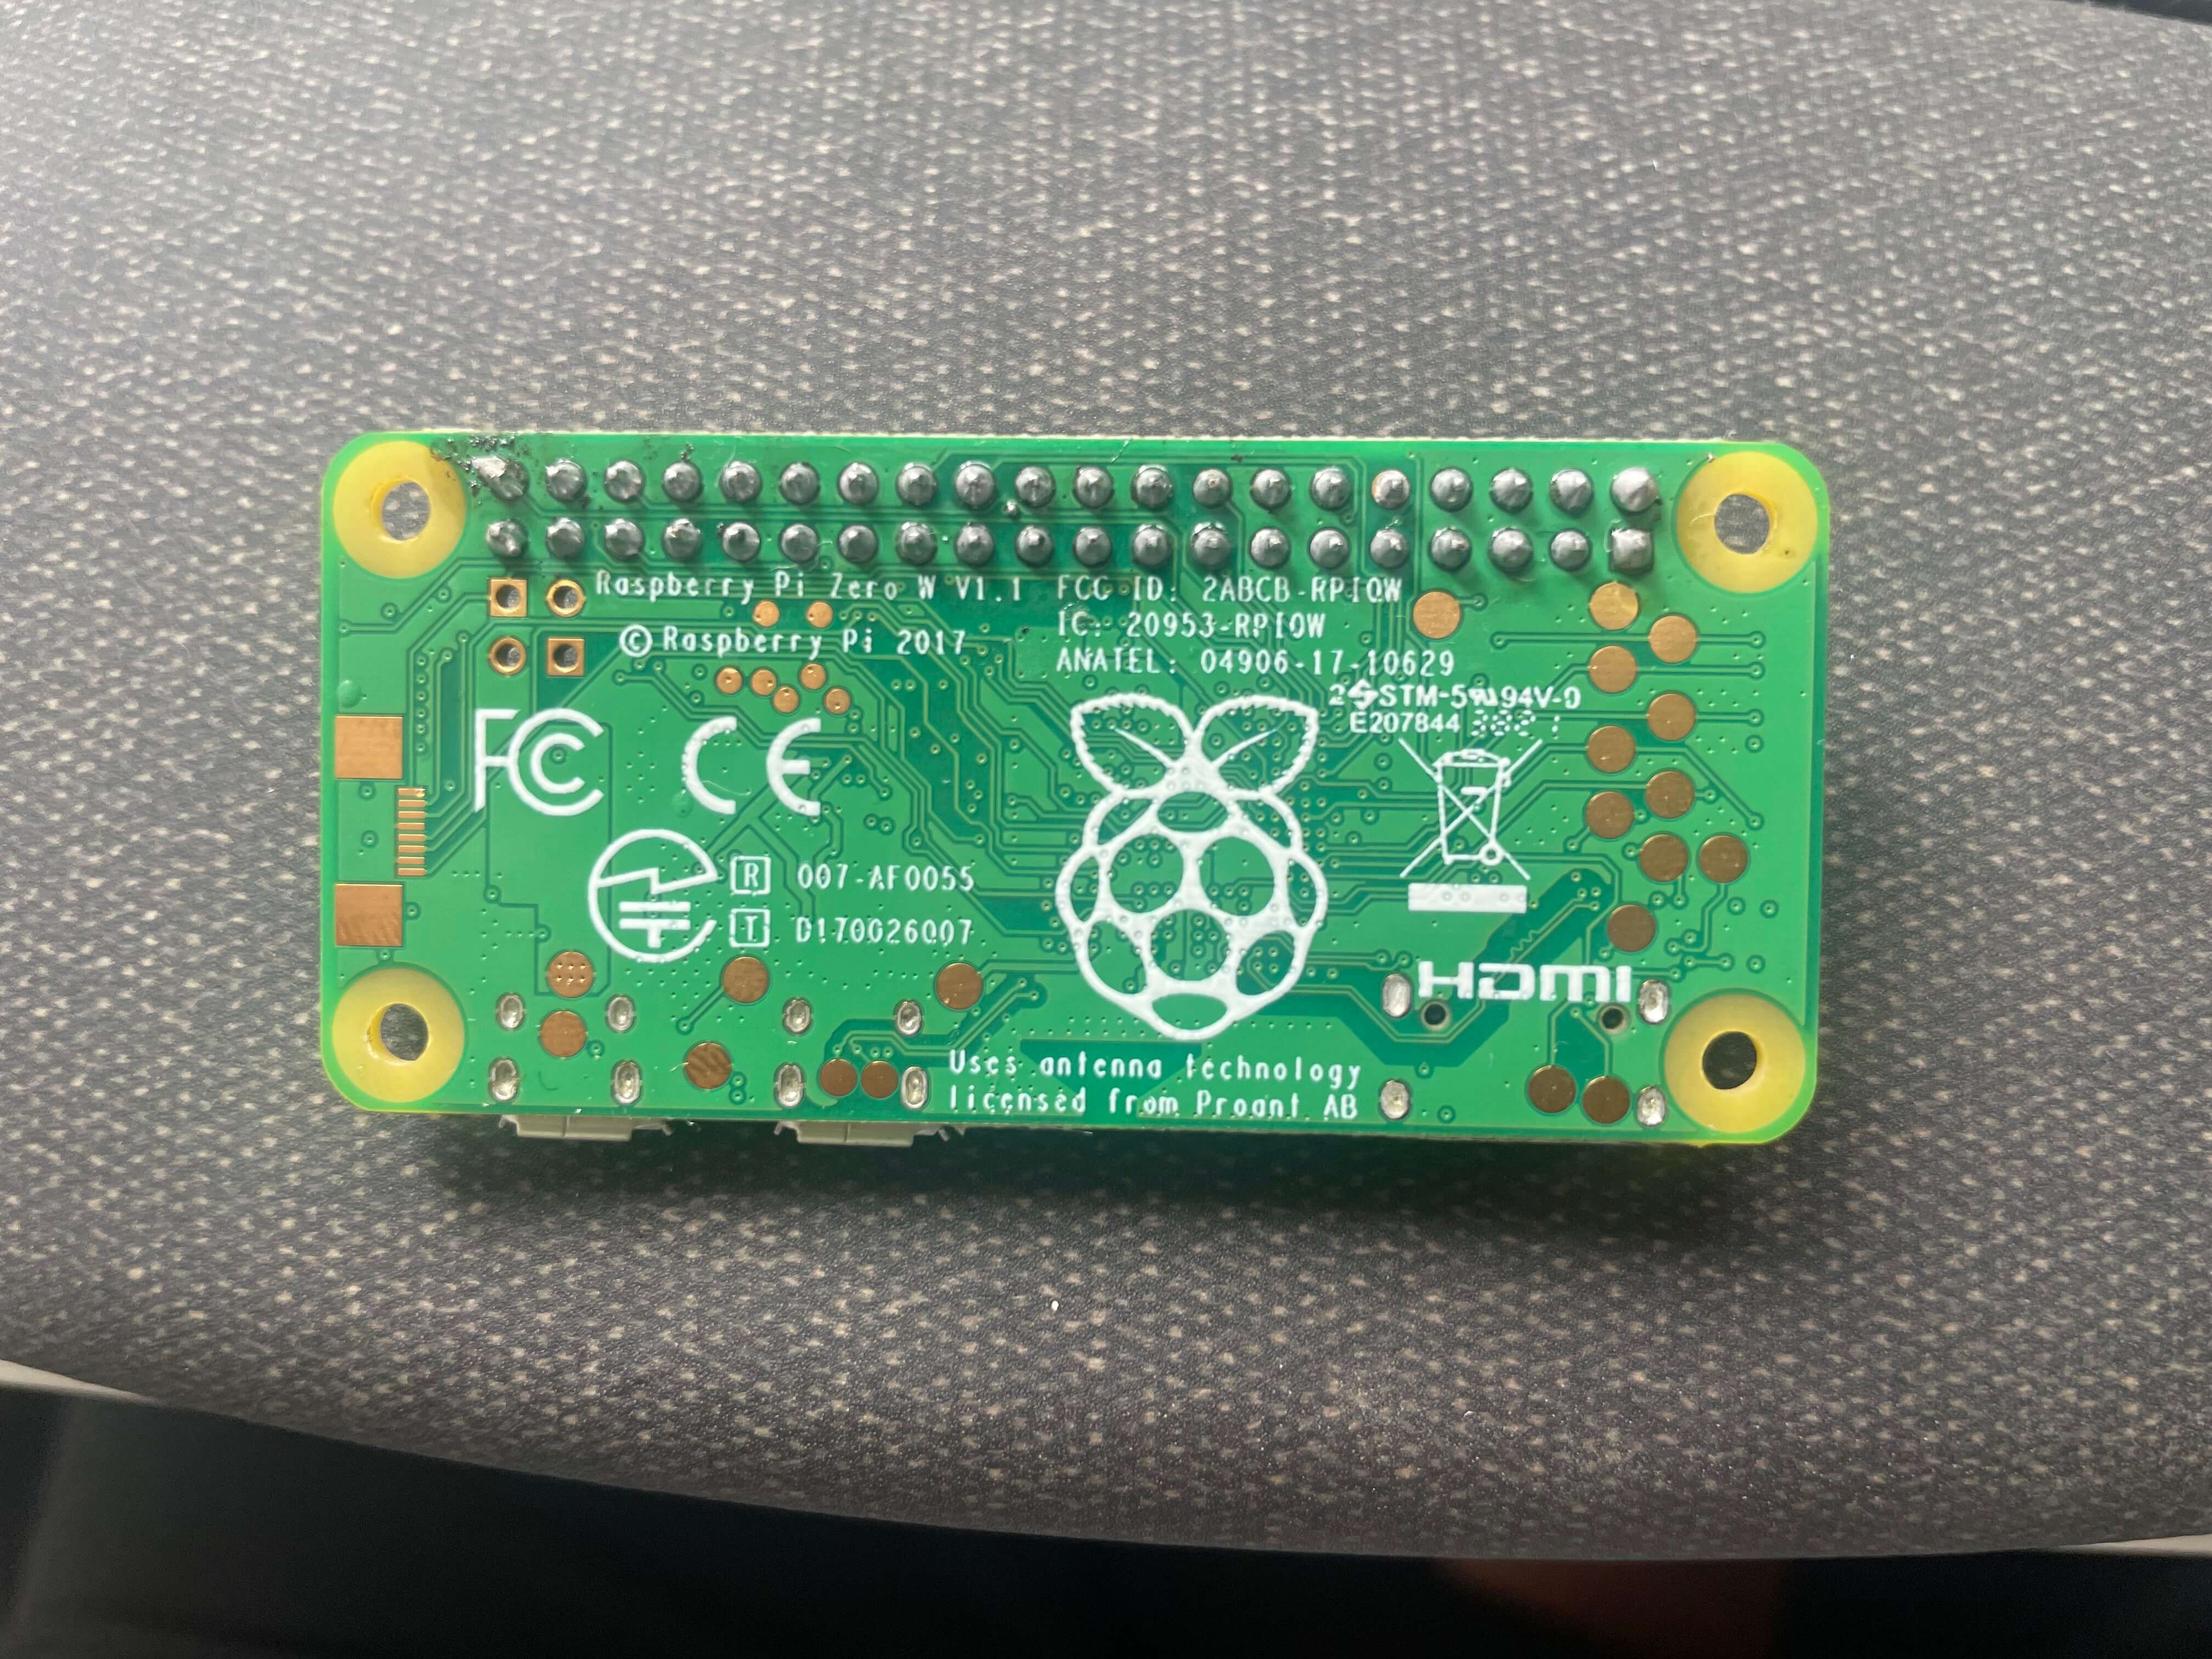
- Raspberry Pi Zero W
- BME280 Sparkfun
- SparkFun Air Quality Sensor - SGP40 (Qwiic)
- SparkFun Environmental Sensor Breakout - BME680 (Qwiic)
- Qwiic Cable - 50mm
- SparkFun Ambient Light Sensor - VEML6030 (Qwiic)
- SparkFun Qwiic pHAT v2.0 for Raspberry Pi
Assembly
I don’t have any experience with hardware assembly, and the Raspberry Pi Zero W comes without the header welded, the true is I didn’t want to weld so I decided to take it to a store to have it welded. The bad part was I connect everything and the Raspberry Pi Zero died. I was very frustrated but I remember I had a Raspberry Pi 3B+ and I decided to use it.
Coding
The book is very good, it explains everything step by step, and it has a lot of code examples. I followed the book and I started to code, I had some problems with the code, but I was able to solve them. I had some problems with the sensors, but I was able to solve them too. I don’t want to share all the code because it is in the book, but I will share the code that I used to solve the problems.
The first step was running the command to install the nerves boostrap and also packages needed for nerves, I recommend using asdf to install the elixir and erlang.
mix archive.install hex nerves_bootstrap
Here is the documentation to install nerves:Nerves Installation
Next step was burn the Nerves firmware to the SD card, I used the command:
export MIX_TARGET=rpi3
As you can see the target is different that the book one, because I used the Raspberry Pi 3B+ instead of the Raspberry Pi Zero W.
mix firmware.burn
The next step was configuring the Raspberry Pi WiFi, and it’s was very easy, I followed the book and I was able to connect the Raspberry Pi to the WiFi. Also you can check the documentation here: VintageNet Cookbook
Here is how it looks the configuration in the target.exs file:
config :vintage_net,
  regulatory_domain: "00",
  config: [
    {"usb0", %{type: VintageNetDirect}},
    {"eth0",
     %{
       type: VintageNetEthernet,
       ipv4: %{method: :dhcp}
     }},
    {"wlan0",
     %{
       type: VintageNetWiFi,
       vintage_net_wifi: %{
         networks: [
           %{
             key_mgmt: :wpa_psk,
             ssid: "WiFiName",
             psk: "WiFiPassword"
           }
         ]
       },
       ipv4: %{method: :dhcp}
     }}
  ]
For now I will leave this post here, stay tuned for the next one.